A kaiju painting in 10 little steps
Hi fellow monster fans.
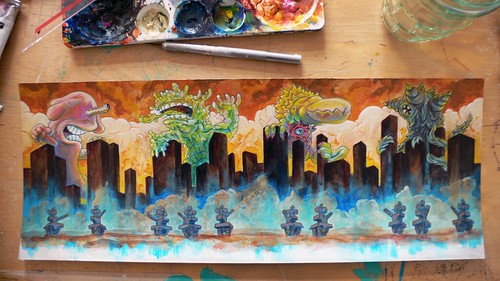
I just finished a little (16" x 6") painting in acrylics for an upcoming edition of one of my resin toys. Some of you may have seen this on twitter/flickr already but I thought I'd share the making of here anyways.
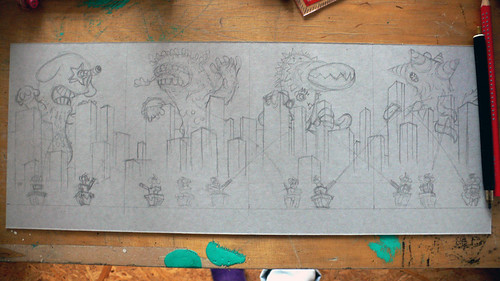
1. The basic line work. Still rather rough but gives me a good enough idea of the composition and all.
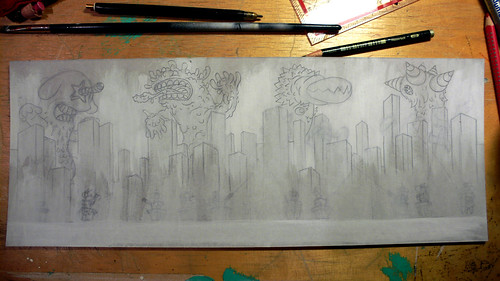
2. A light layer of gesso with additional pencil lines makes everything easier to grasp.
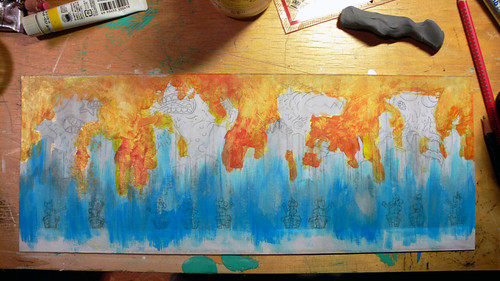
3. The first color a very saturated and lively but they are a guidance for the mood. The final painting will be less saturated.
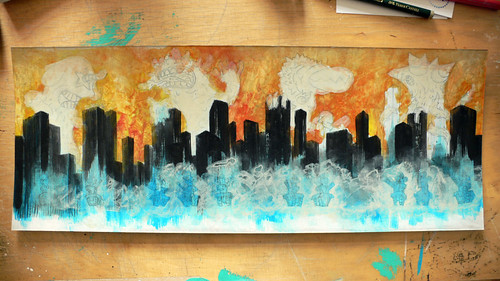
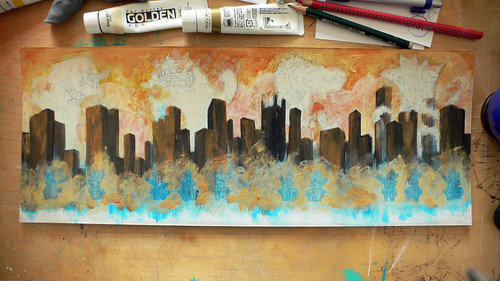
4. A first layer of black on the skyline and some titanium buff give the remaining even more brilliance. Looks very apocalyptic now...
5. I decided for mostly warm colors and finally I add these nice muddy browns and golden layers. Looks all very messy but now for long...
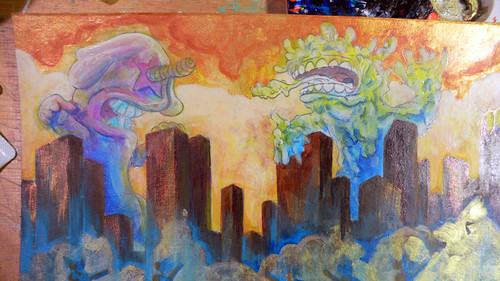
6. Here is started to work on the monsters. The heads feature mostly warm lighting from the clouds while the lower areas have more yellow, green and blue hues.
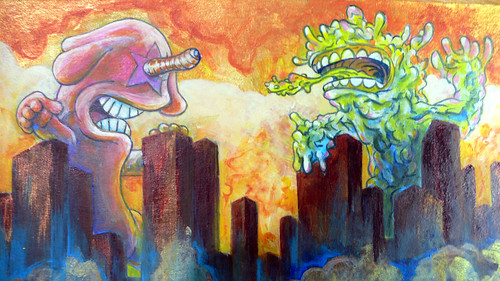
7. I wanted to keep the cartoony vibe, so, I kept the line work. Here, I give the monsters some more details by tightening the lines, shadows and
8. The whole process is actually the same for a lot of things: monsters, tanks, etc.
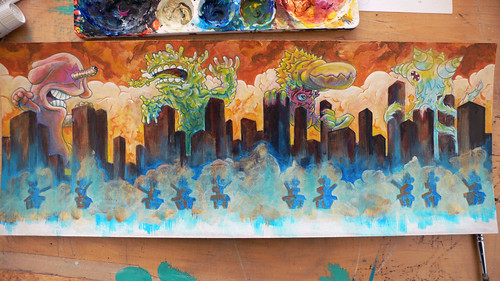
9. See the step above... Almost done. The tanks still needed a greater depth at that point but apart from that it was almost done.
10. The finished painting. This time a scan instead of photo. Looks a lot better than the crappy pictures my camera makes...